MIND-BLOWING SCRAPBOOK HACKS
You’ll Wish You Knew Years Ago!
PLAN • SCRAP • PRESERVE


Isn’t It Insane How Many Ways You Can Use Just ONE Clipping Mask?
If you think a clipping mask (or photo mask) is only for clipping photos – because, hey, the name says it all – you’re absolutely right…
But that’s just the beginning!
The moment you start experimenting, you’ll discover a ton of mind-blowing creative possibilities. And today, I’m showing you some of my favorites!
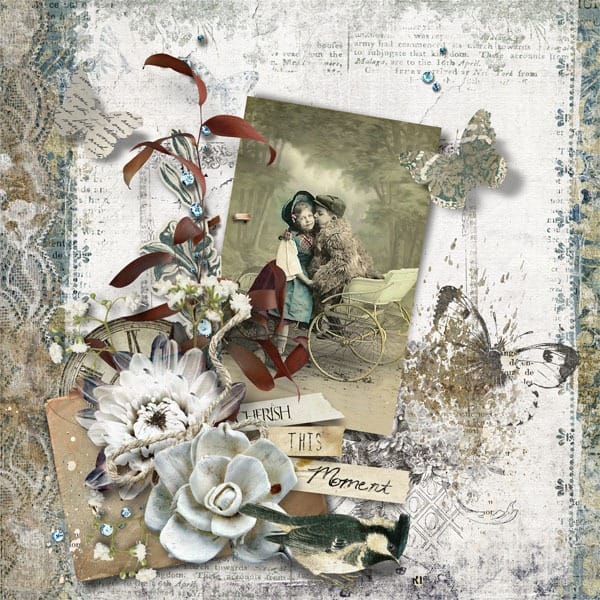
Example 1: The Classic – Clipping a Photo into the Mask –>

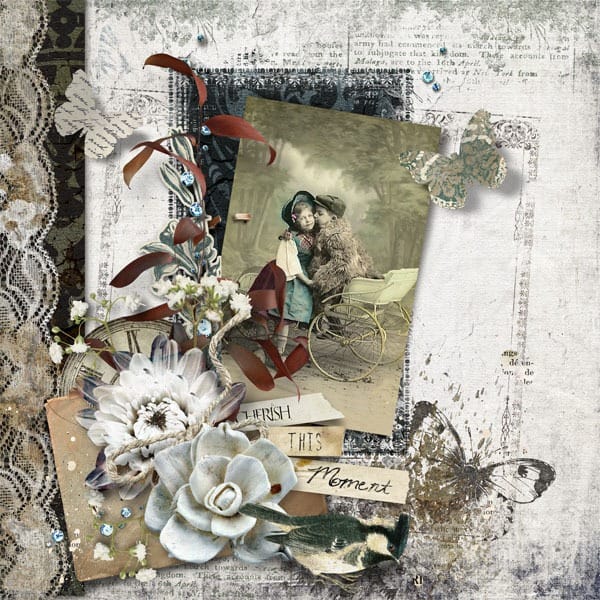
Example 2: Level Up – Using the Same Clipping Mask as a Dramatic Background
For this one, I tweaked the overall layout composition a bit (as you can see) and used the exact same clipping mask – but this time as a bold background layer behind the photo.
Pro Tip: Always pair your clipping mask with a contrasting background paper!
- Dark mask? Go with a light paper underneath.
- Light mask? Choose a darker paper for maximum pop and contrast.
(It makes the whole effect stand out way more!)
Example 3: Frame It Like a Pro – Turning the Clipping Mask into a Stunning Border
For the final wow-factor, I used the same clipping mask again – but this time as a custom border!
Here’s what I did:
I duplicated the mask, placed one copy at the top of the page and the other at the bottom, then merged and resized them to span the full width.
Duplicated it once more, shifted one to the left side and the other to the right, and merged again.
The result? A bold, perfectly matching frame that ties the entire layout together. I’m totally obsessed with this trick!